

Our Content Management System (CMS) lets you look after all aspects of your podcast player from one easy-to-use location.
Upload RSS feeds, manage your podcast directory and create custom collections.
It’s the perfect dashboard for locating and amending the features of your player.
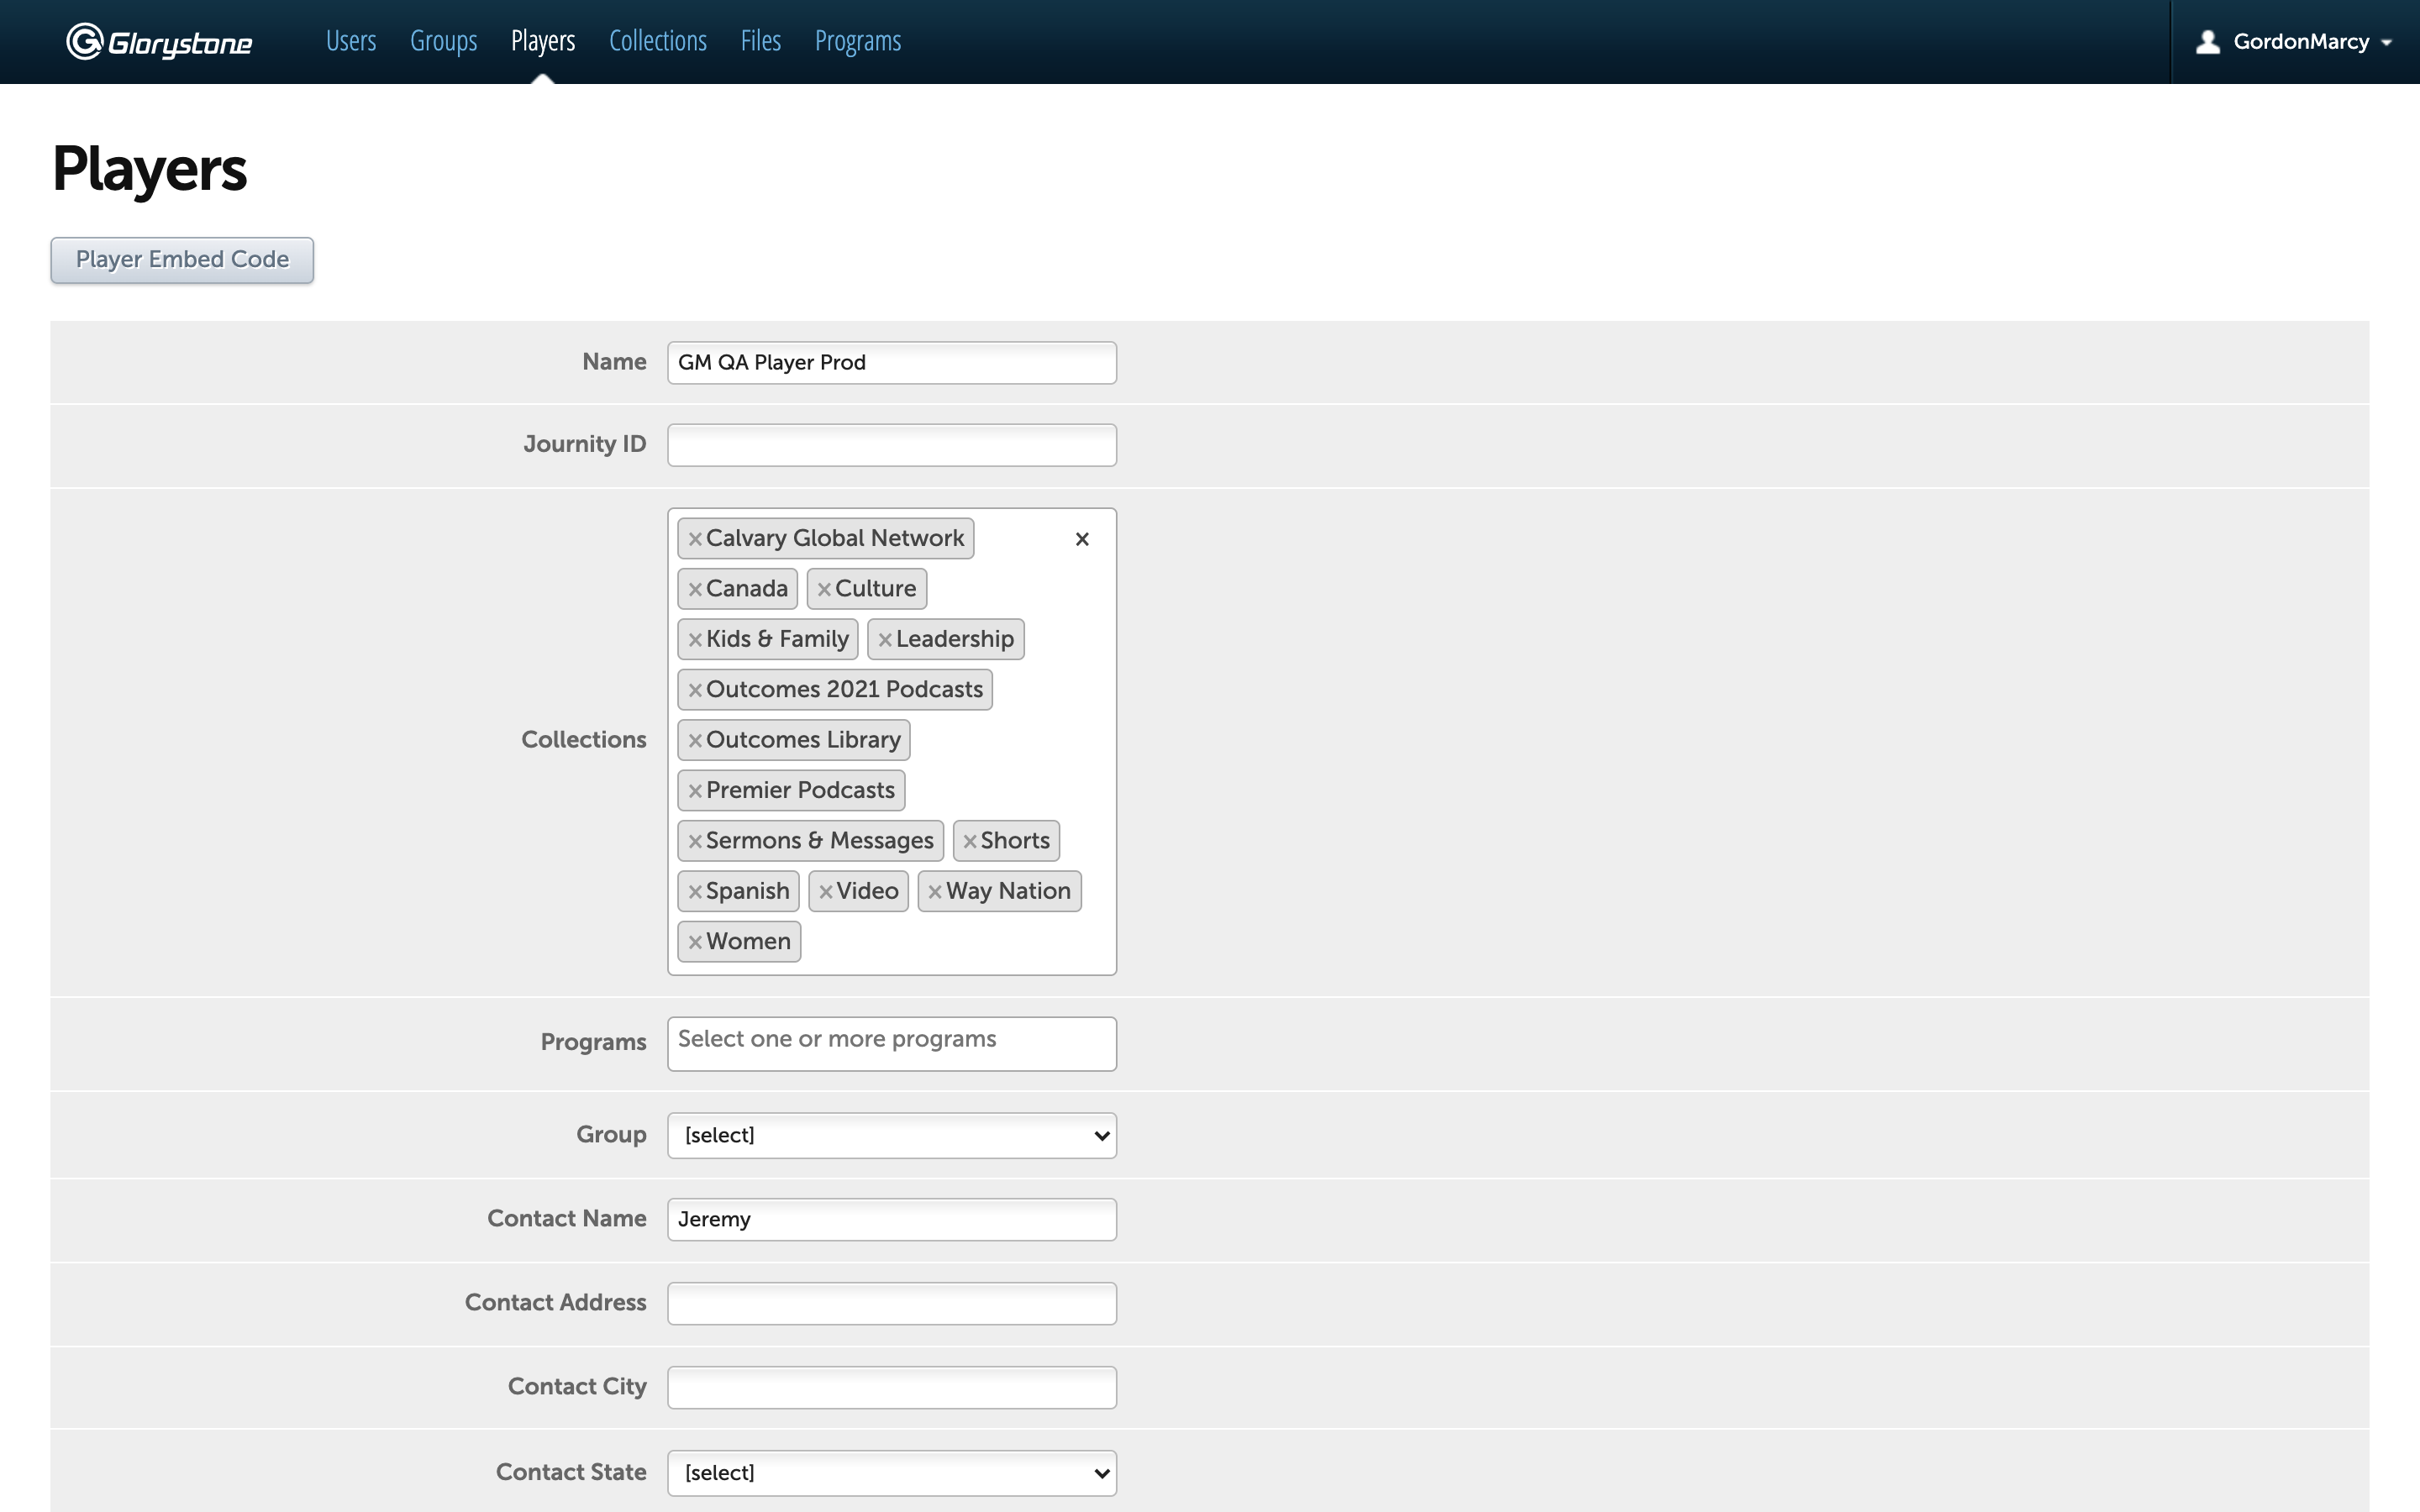
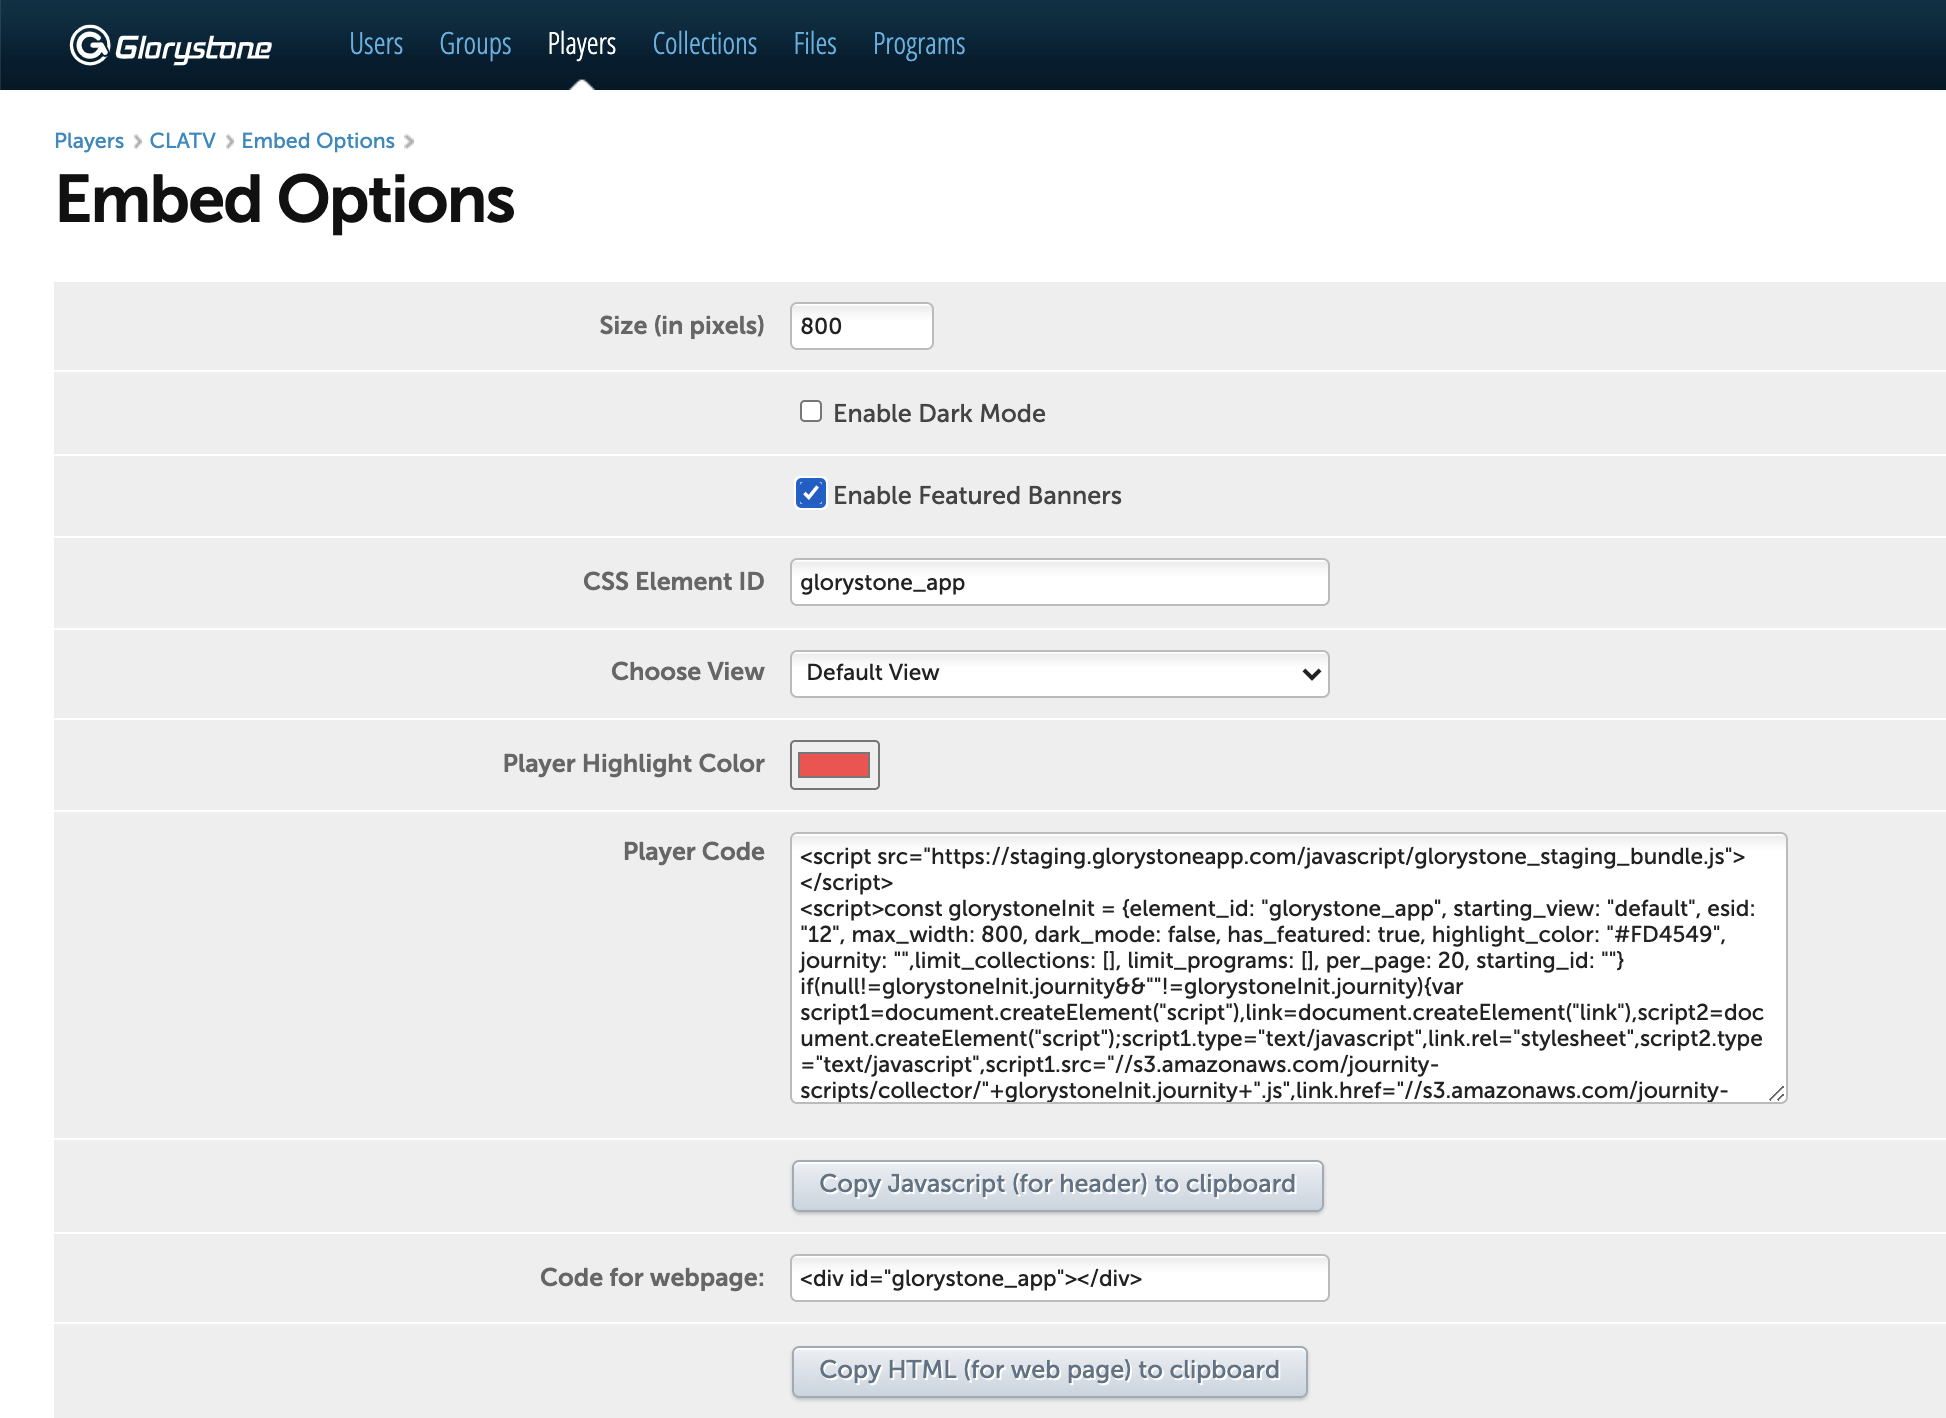
In the CMS dashboard, click > Players > Player image > Player Embed Code. Here you’ll see the Embed Options page. This is where customizing your player begins.
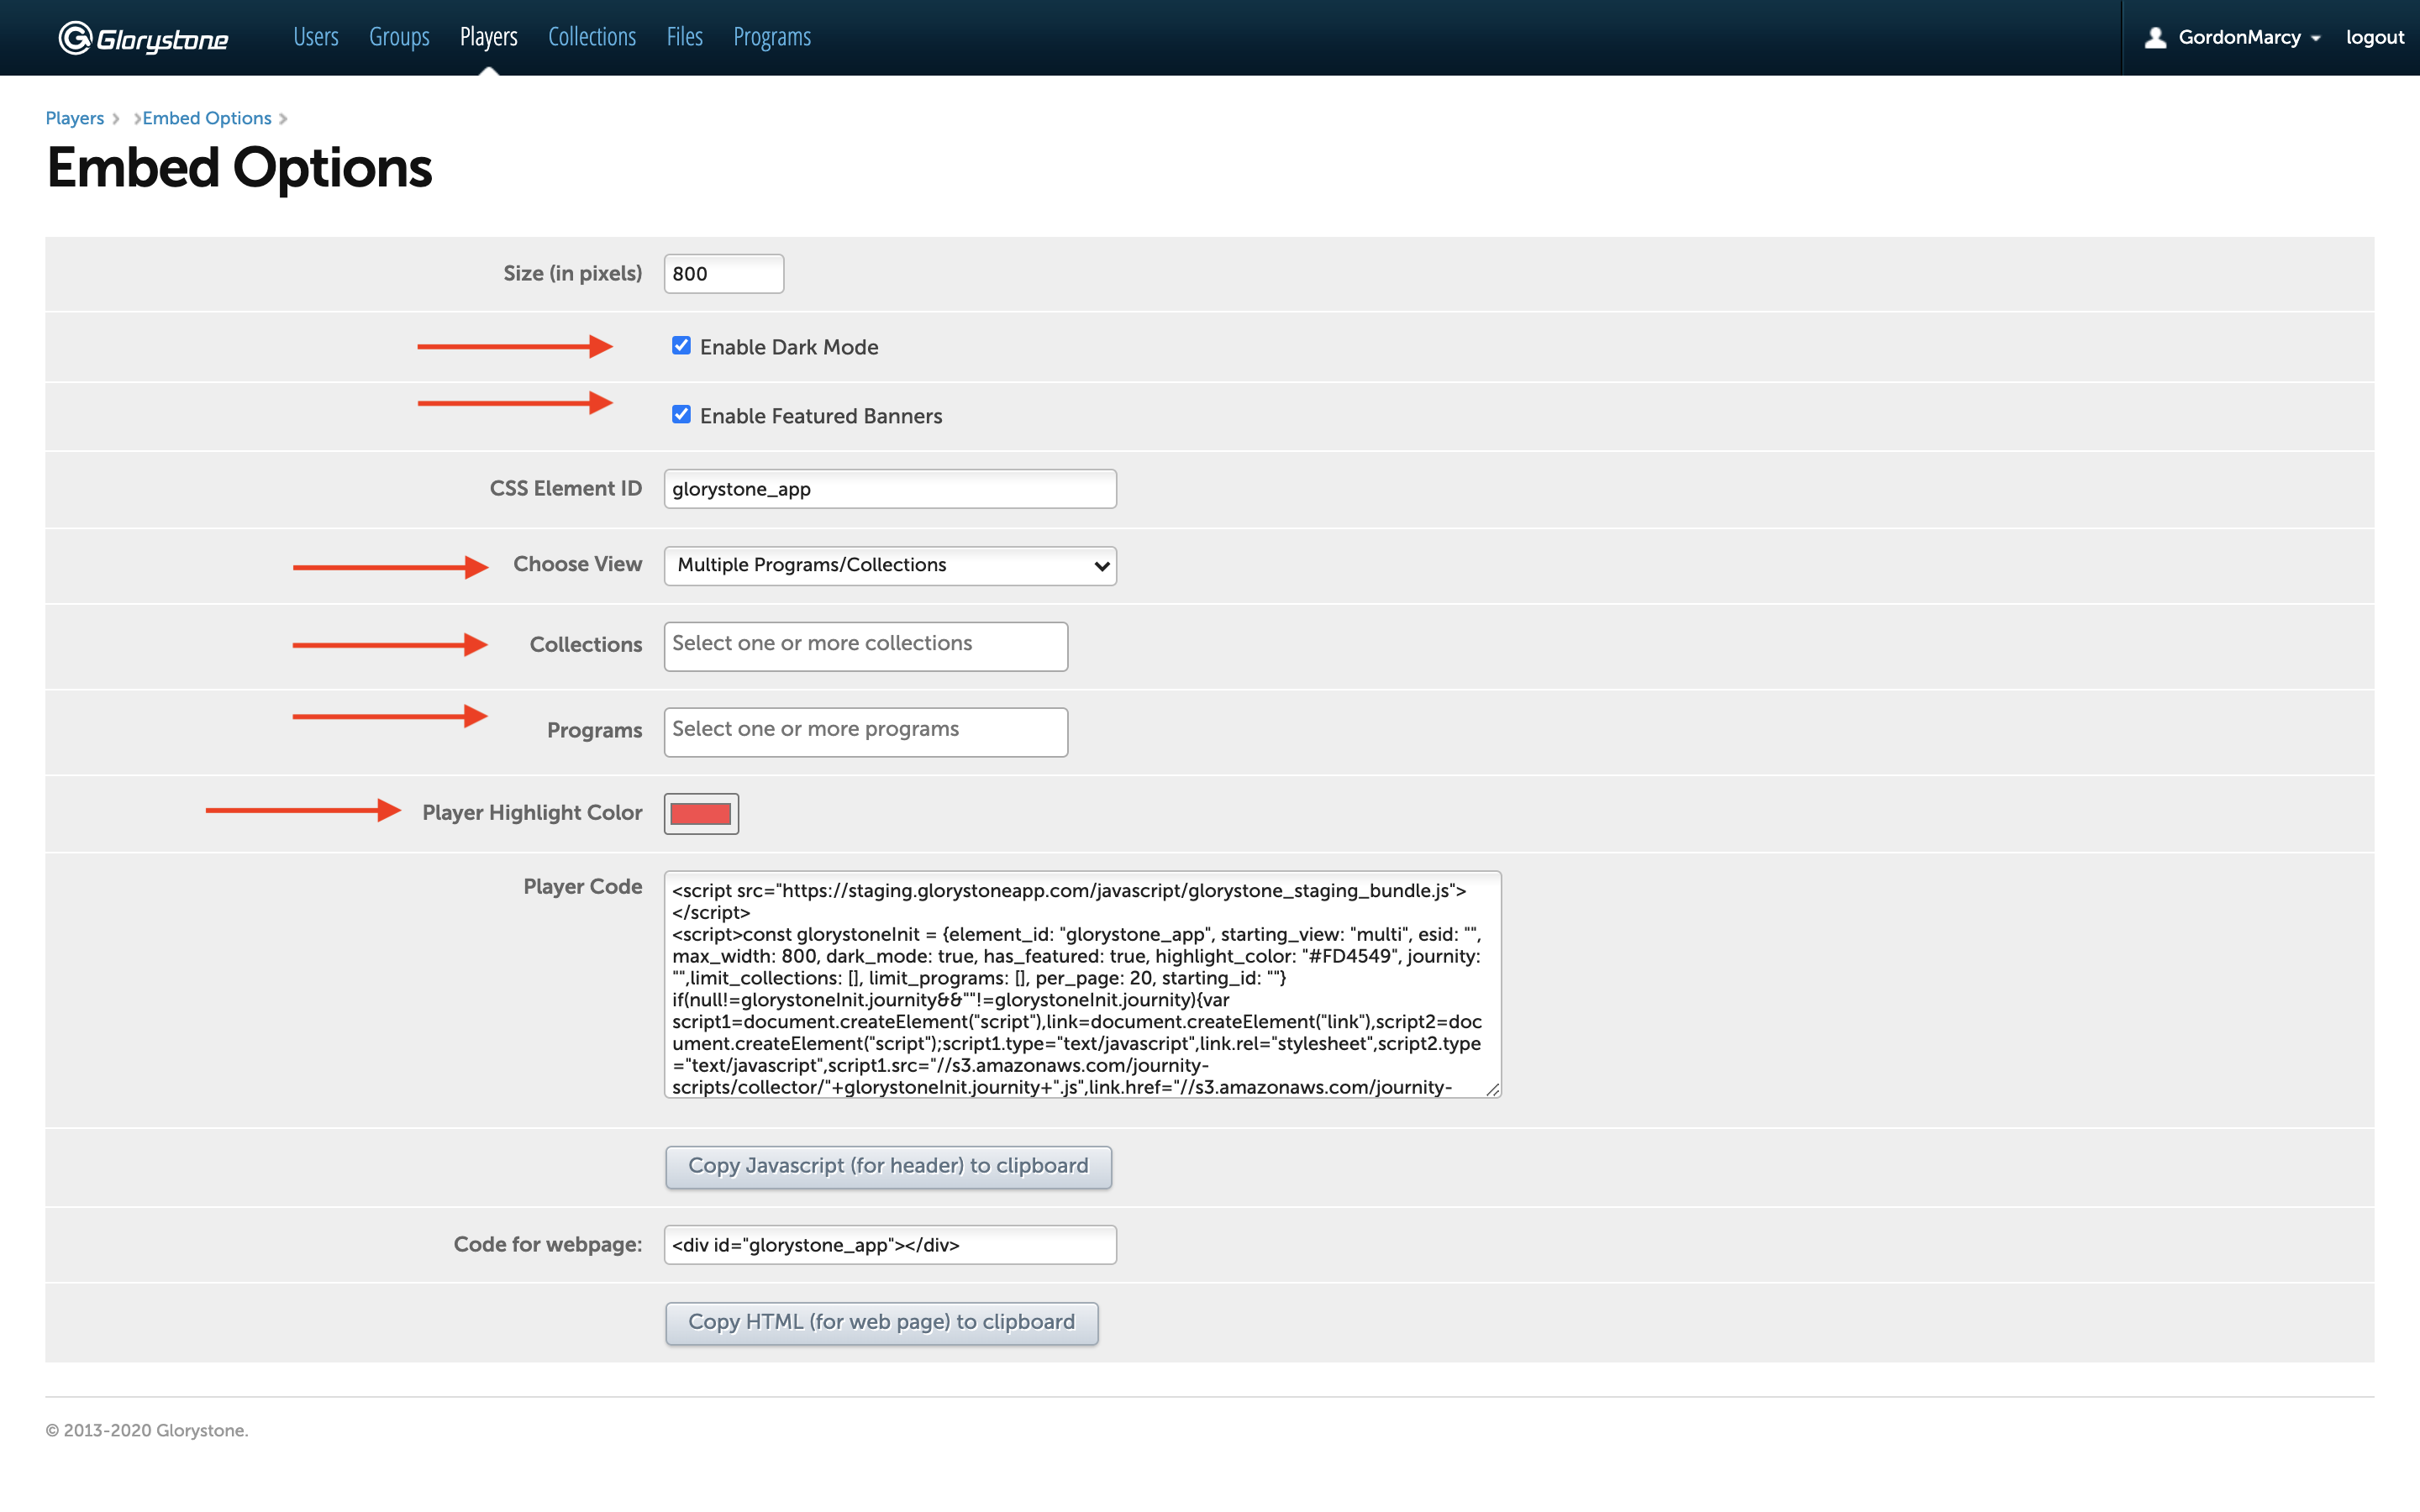
Player Theme
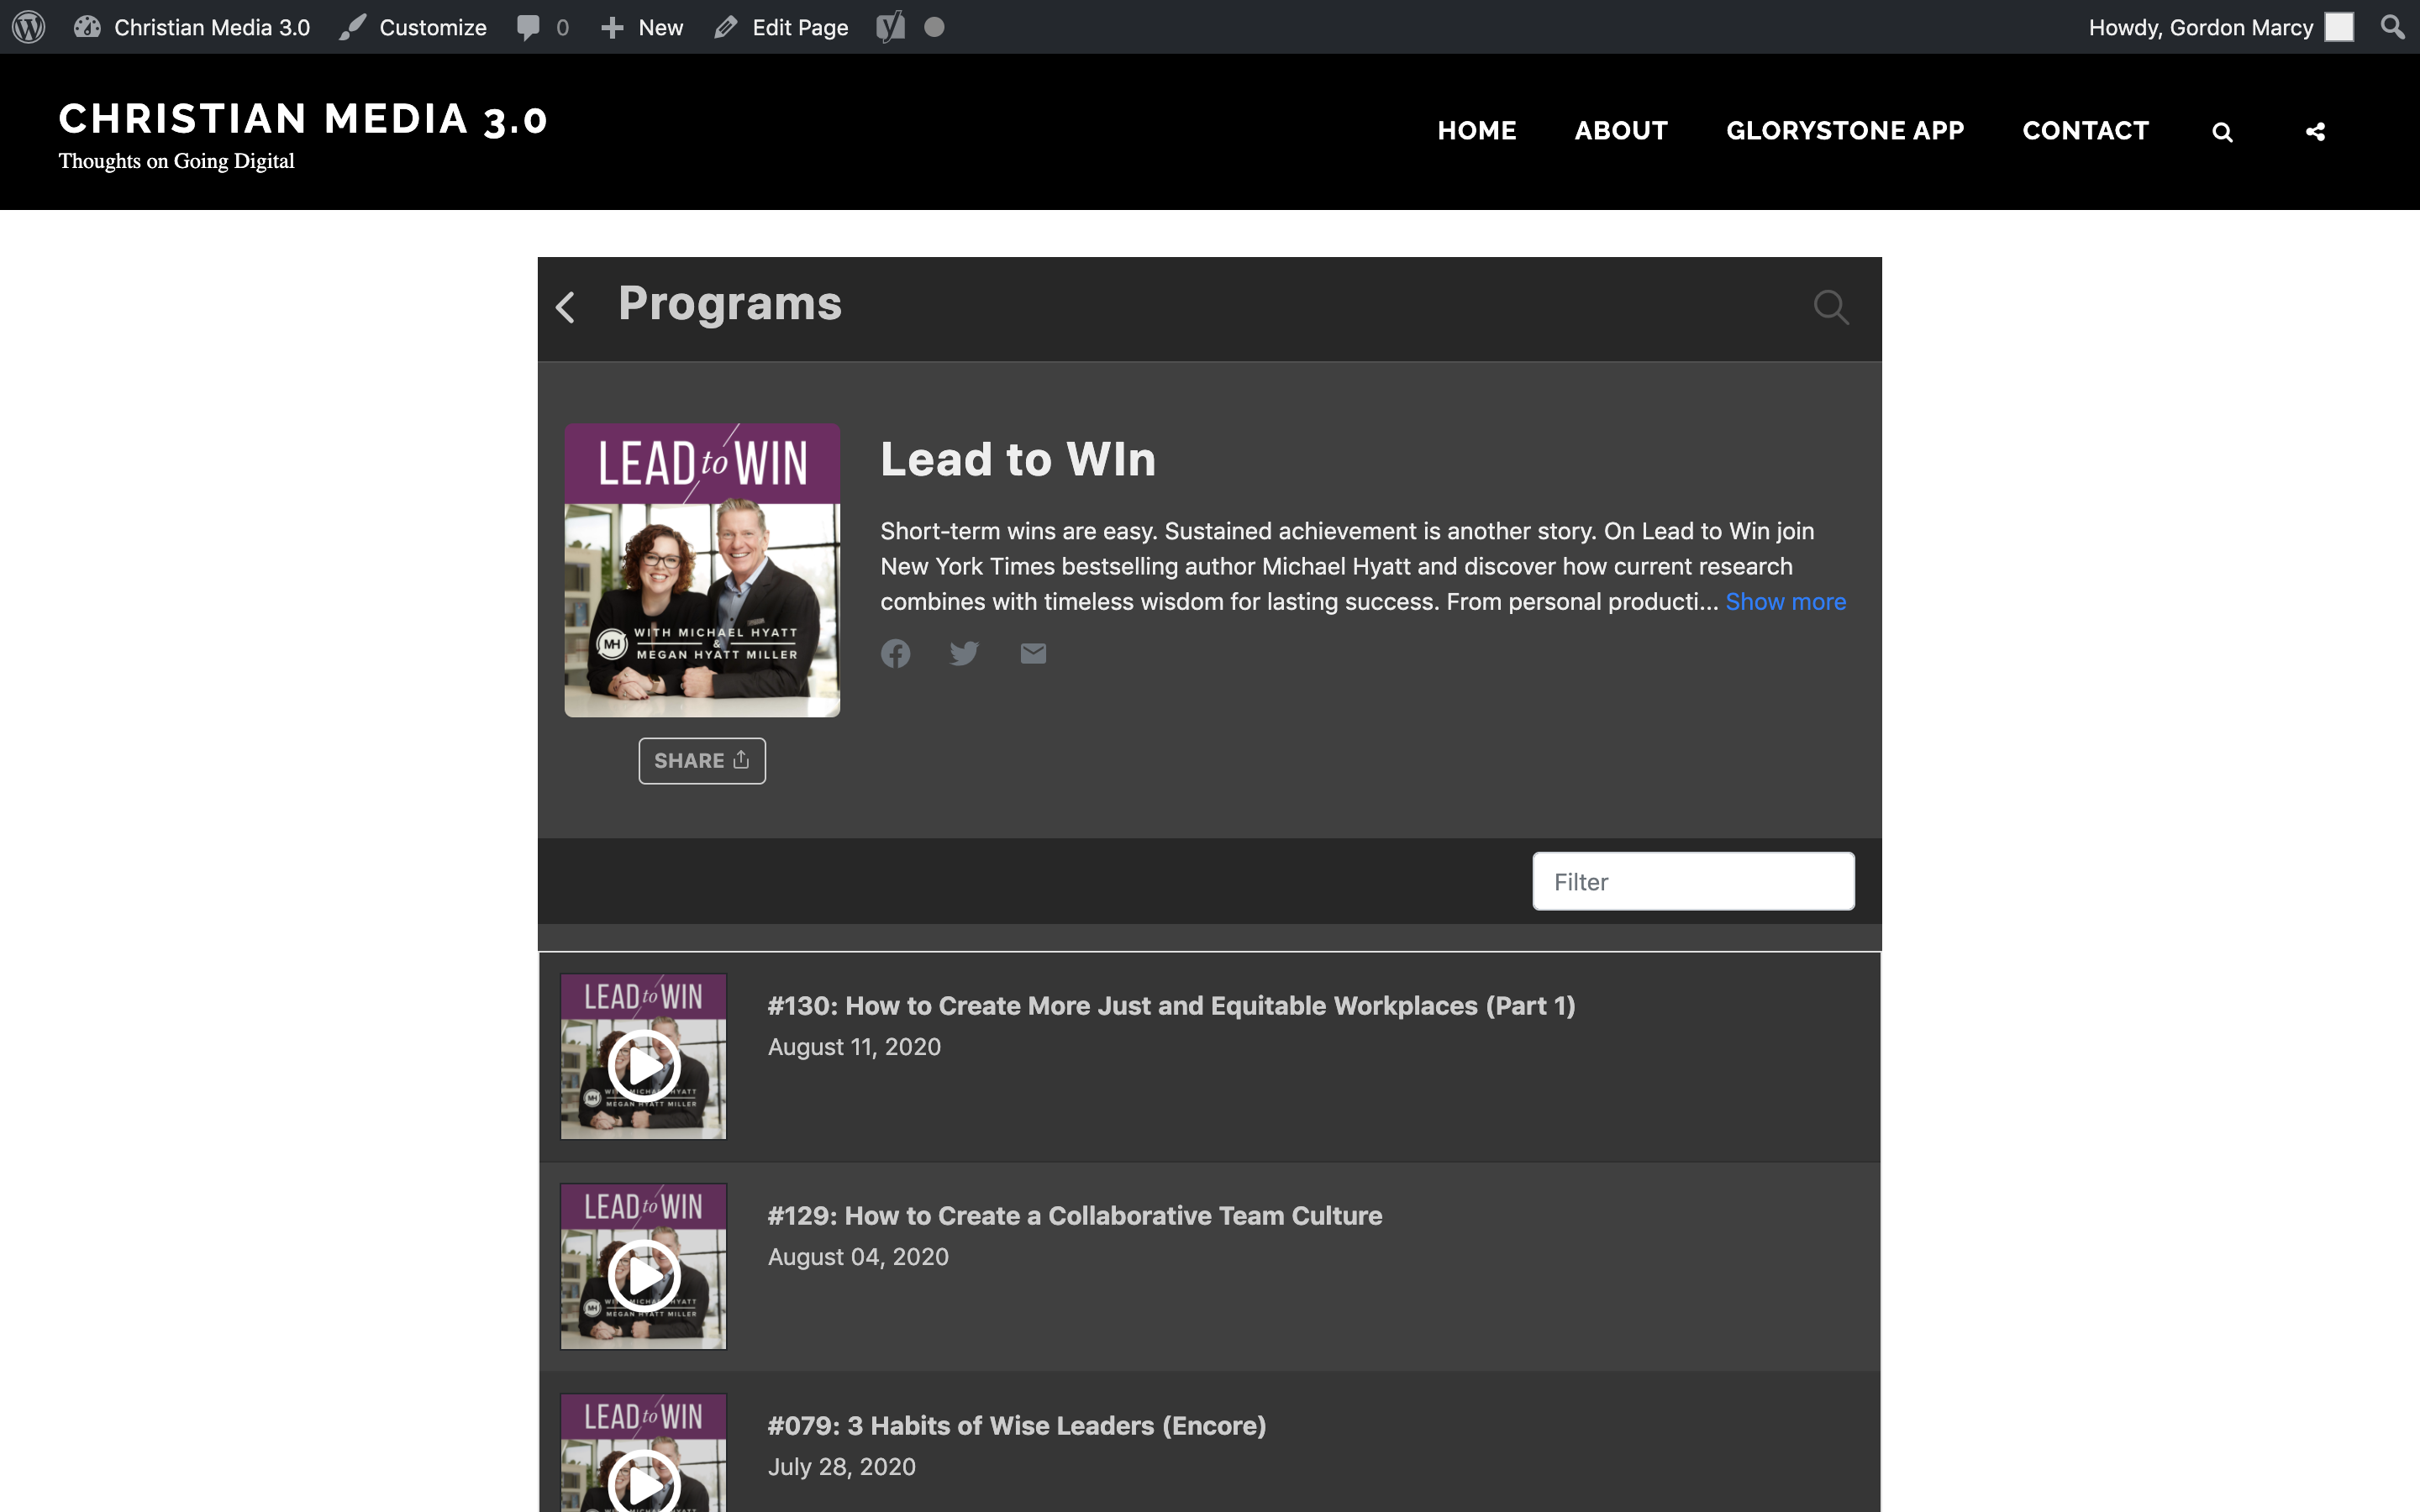
There are two themes to choose from: a) Light mode, with dark text on a light background b) Dark mode, with white text on a dark background.
The Featured Banner is an optional graphical display. It can be used to push instant engagement with your audience. Choose a Player Highlight Color to match the color scheme of your site.
CSS Element ID and Choose View work together to map the location and characteristics of the Player and Widget Players on your site. The ID (See “Code for Webpage) is installed wherever the players and widgets live. By “Default”, the ID is set to “glorystone_app”, which is basically the primary-player install. The primary player will usually consist of all content you intent to display and distribute. The primary will need to be “public” but making it visible through a navigation tab or button on your website is optional.
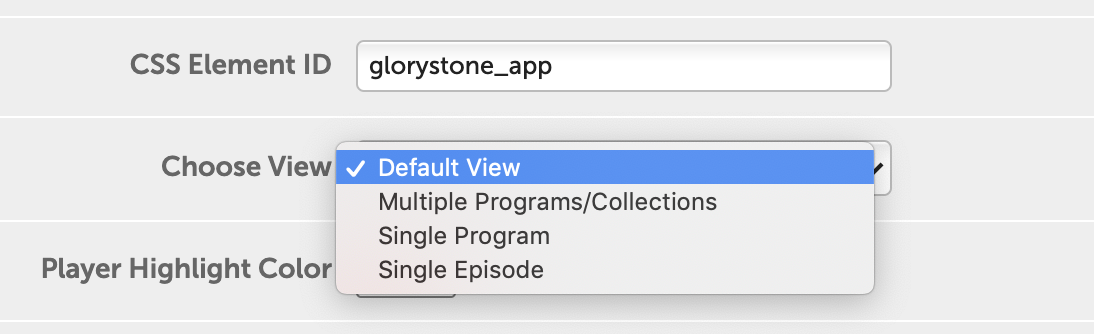
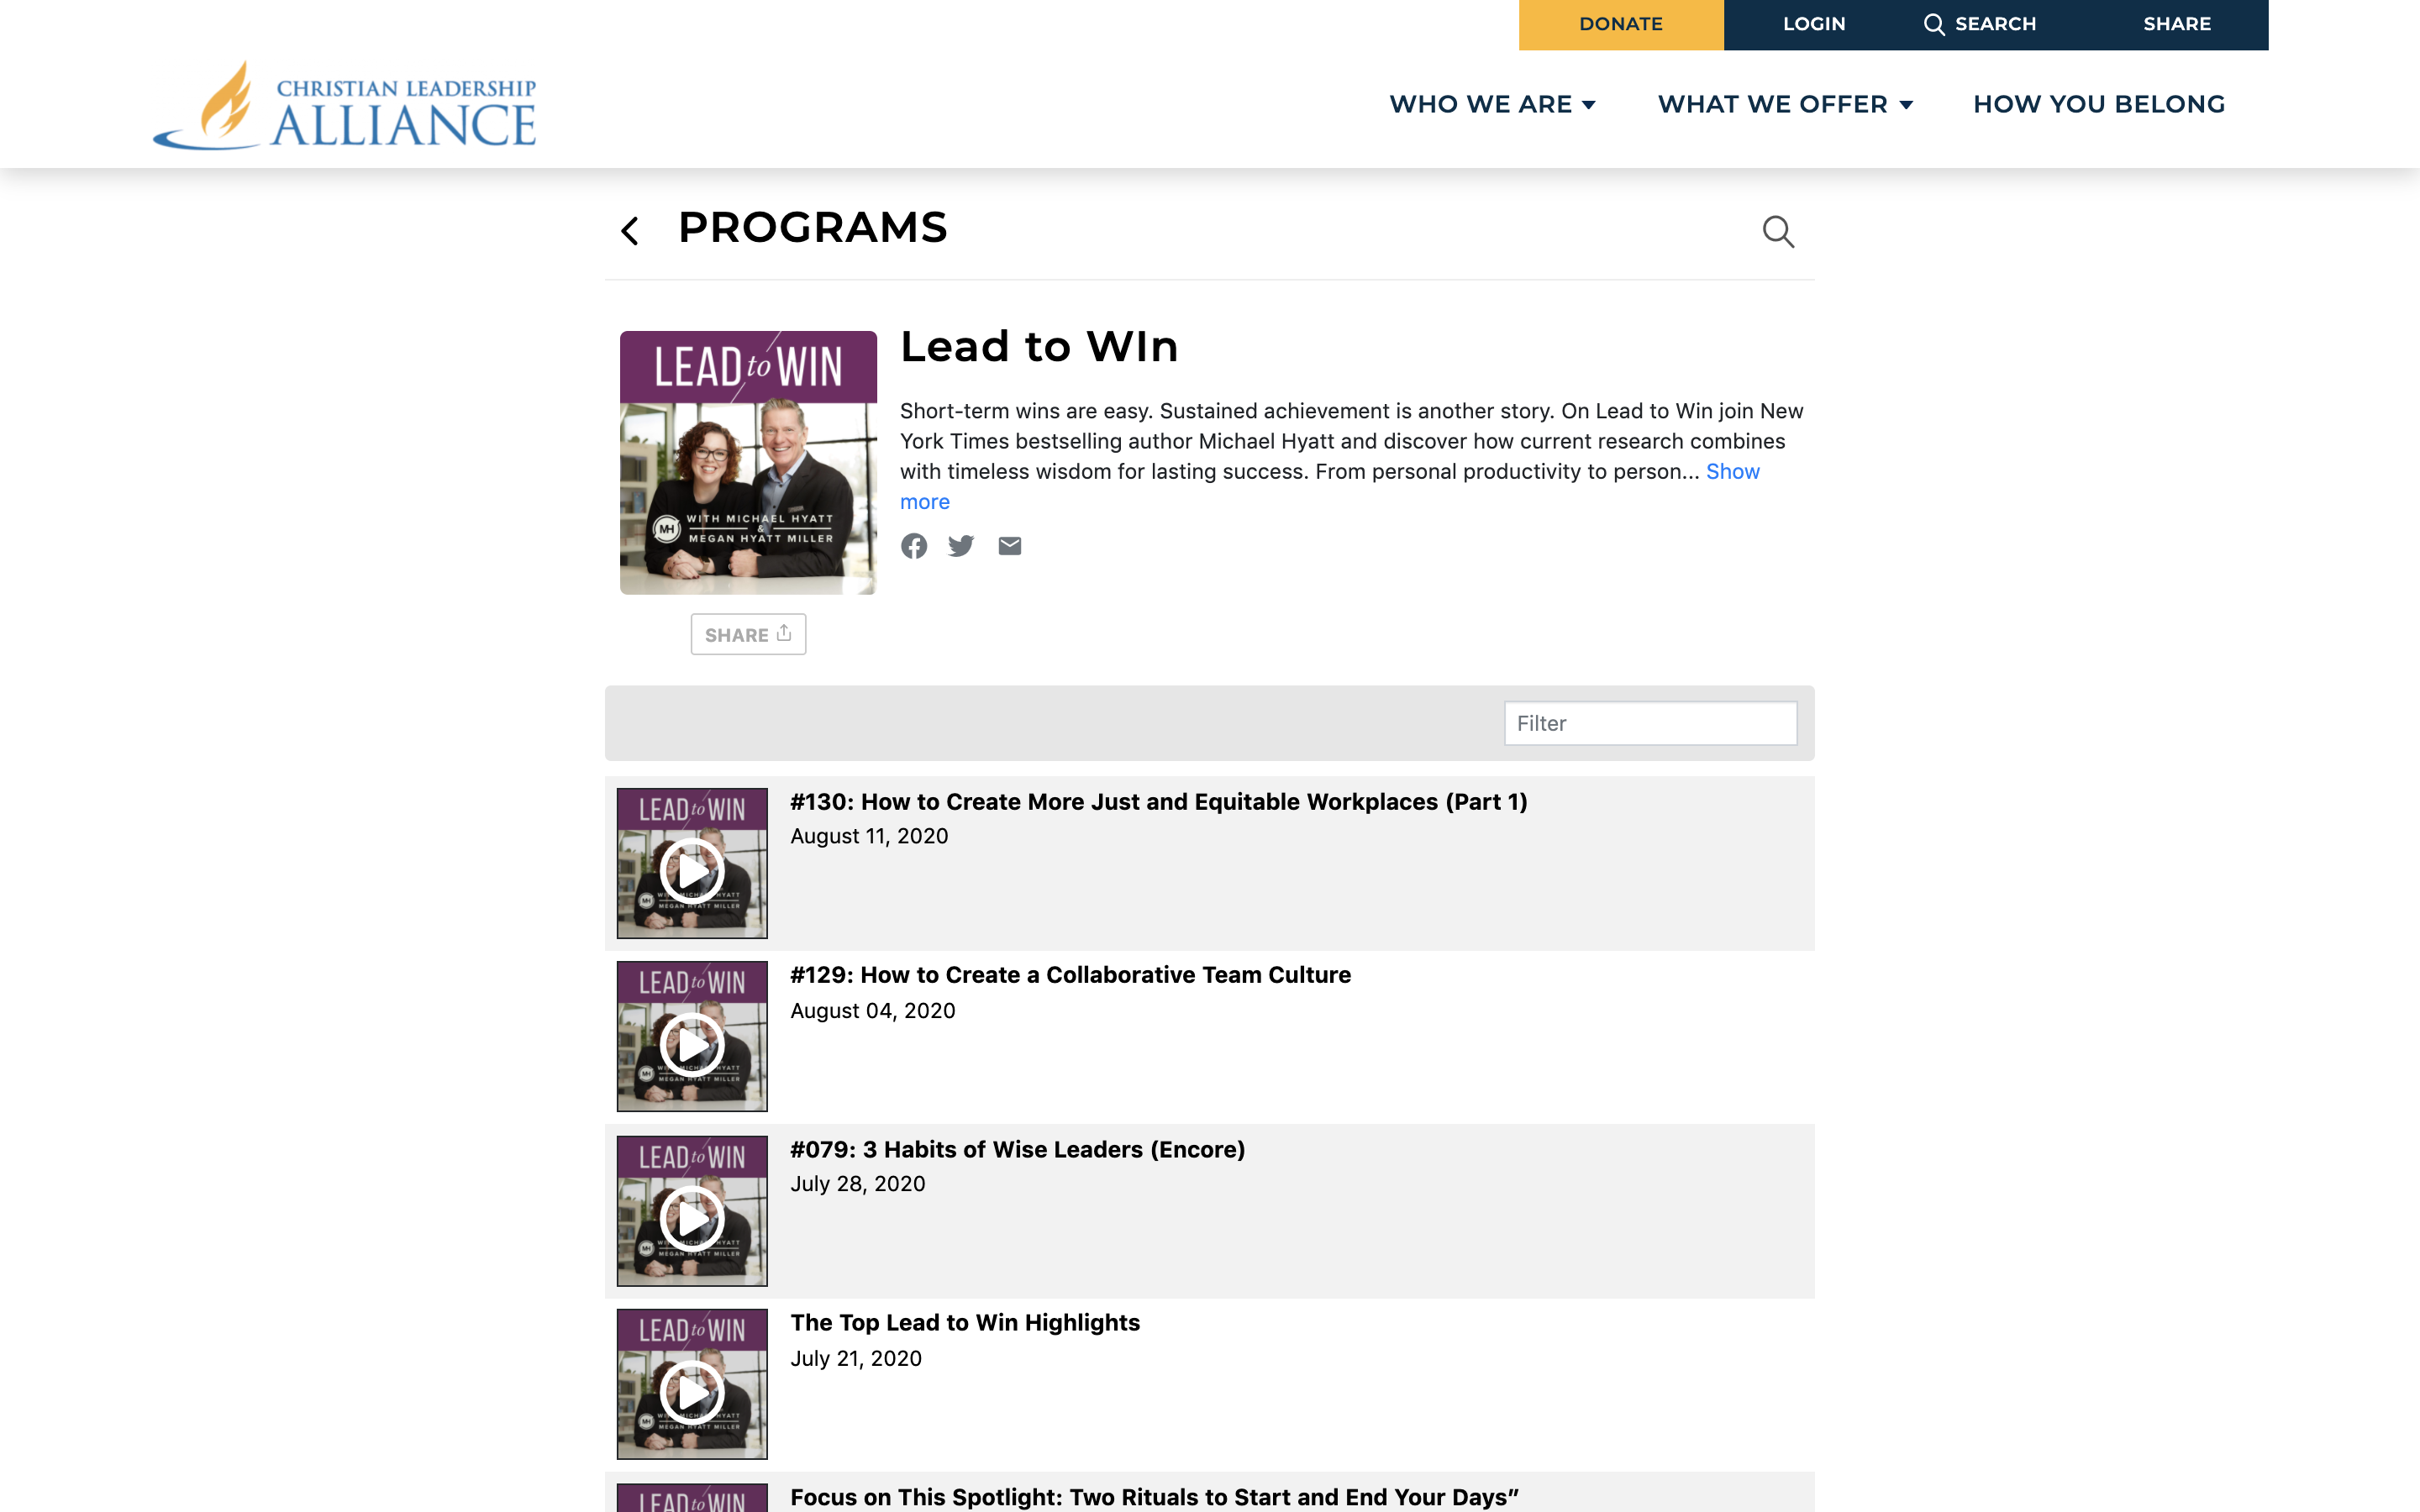
Other Views. Multiple Programs, Single Program, Single Episode – When using other views, a new starting ID, and view ID are automatically generated in the Player Code. There’s nothing more you have to do. Choose View allows you to customize your players with content for specific locations, audience engagement and sponsor opportunities.
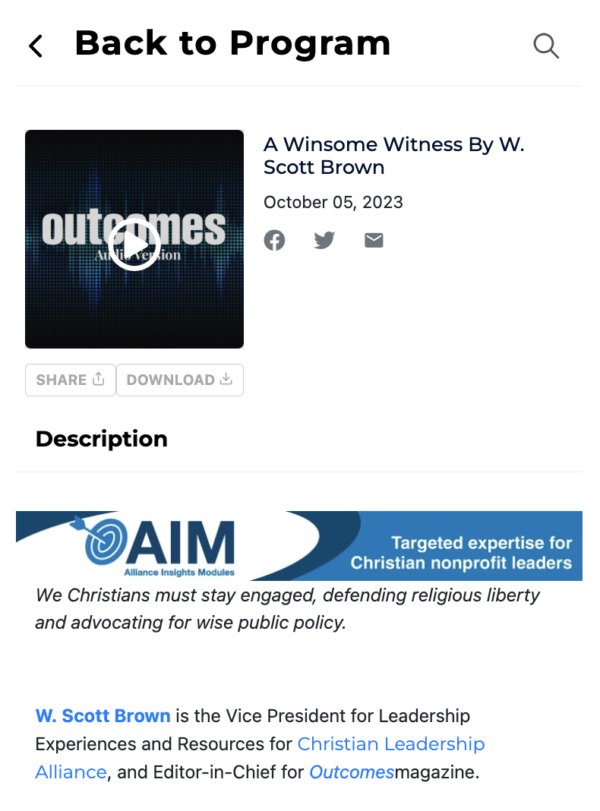
Single Program
Single Episode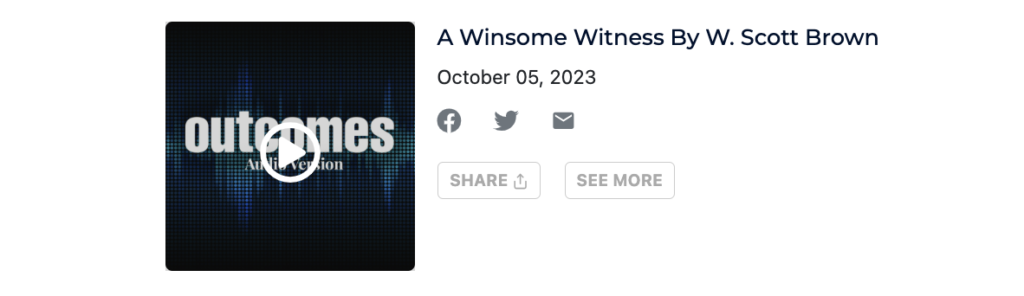
Changing the CSS ID. It’s good practice to change the CSS ID when installing multiple widget players on a single site, e.g. custom players would look like this “glorystone_app_blog” “glorystone_app_podcast.” This will enable you to keep track of the different player configurations in your website backend. If you have multiple player views on a single page you must change the ID. Otherwise, changing the ID is optional.
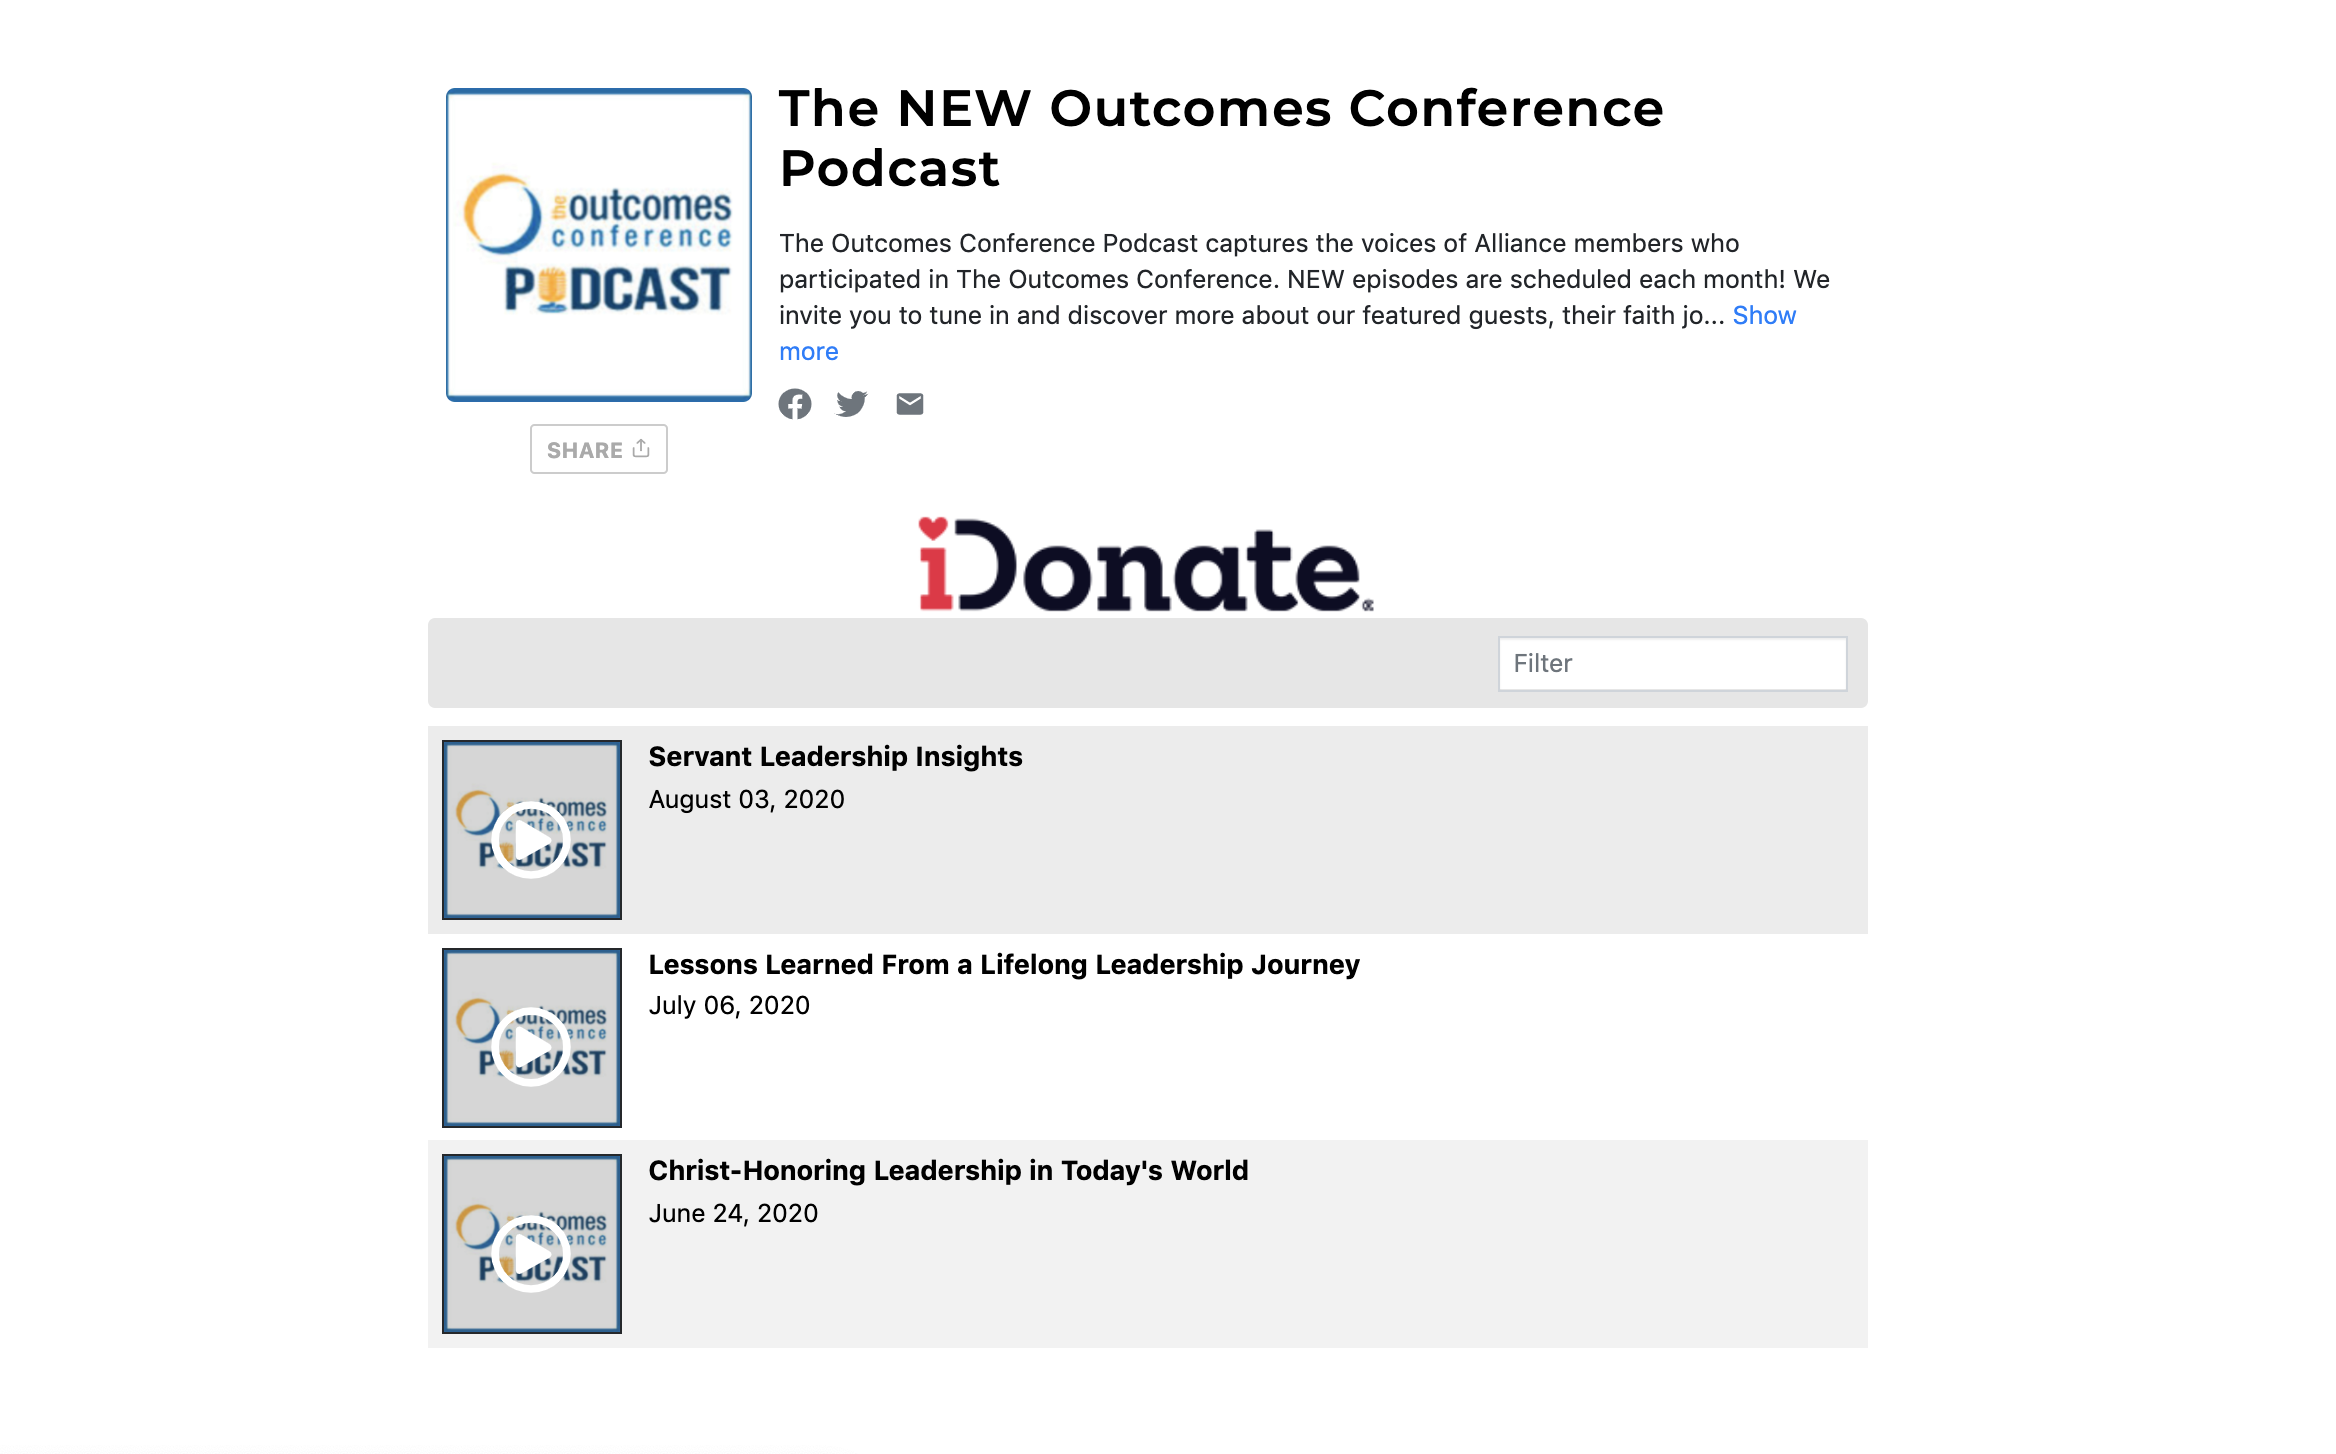
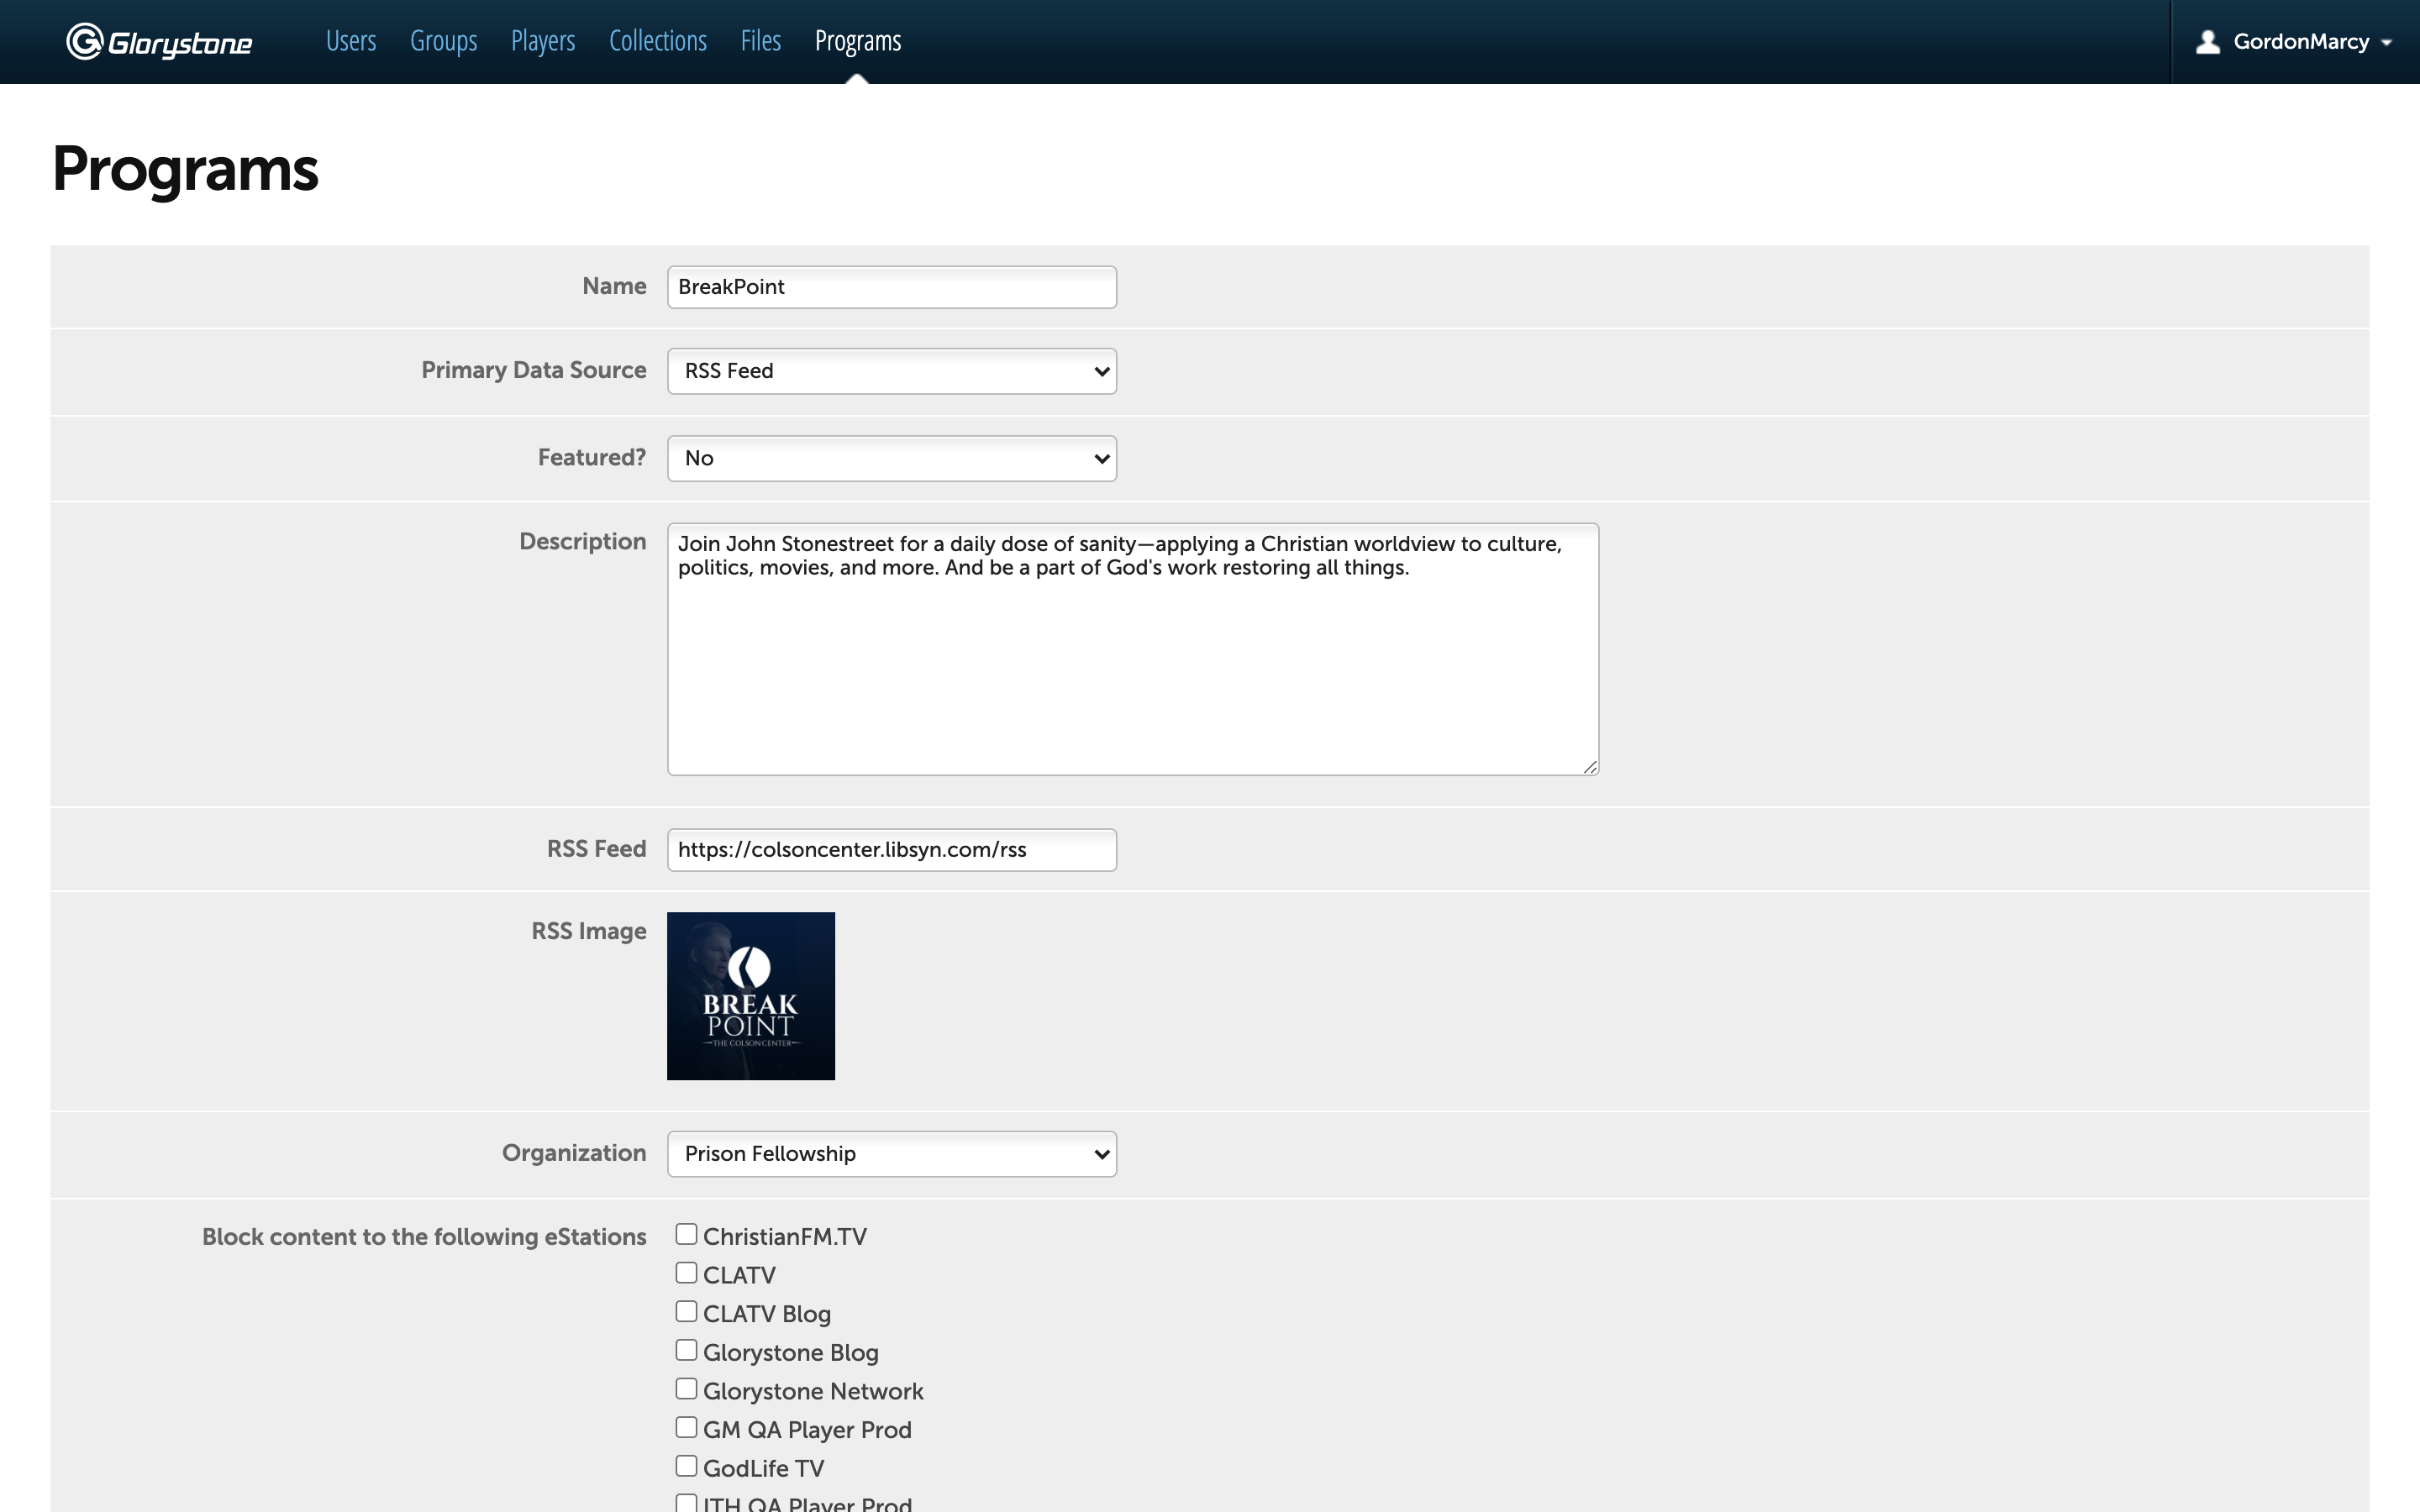
Programs are single podcasts like “BreakPoint” Collections is a group of podcasts, usually assembled by category or theme for further organizing content and customizing your Player.
You can create your own Collections and/or choose from our directory of Podcasts and Global Collections, including “Culture”, “Kids & Family”, “Leadership”, “Sermons & Messages”, “Shorts”, “Spanish”, “Video”, “Women.” Add as many Collections of Programs as you want to your Player.
Add Collections to Players
Programs. Further customization is possible by adding individual programs to a player instead of just adding a collection. Those programs would appear under the “All” tab of the player. Good examples would be if you want a Player with just 5 programs but don’t want to make a collection, or say you want a collection plus one program which isn’t a part of that collection. It just allows you greater options for organizing content in your Player.
Installing the Player Code. There are two approaches for installing the initial javascript code.
1) The global install. If your website theme does not have a global header/footer option, you will need a plugin, such as WPCode (formerly known as Insert Headers and Footers by WPBeginner. Insert the Player Code into the global footer. If you plan to have a visible to the public primary player, a global install will give you actionable data from Journity about the player and all the other content on your website. (See Journity Ads for more information.)
2) If your theme does not have a readily available footer for installing script, then you’ll need a plugin such as SOGO HEADER FOOTER. Insert the Player Code in the footer for each page.

Installing Code for Webpage “div id”. Next, place the “div id” into a HTML snippet/space of the page where you want the any player to live.
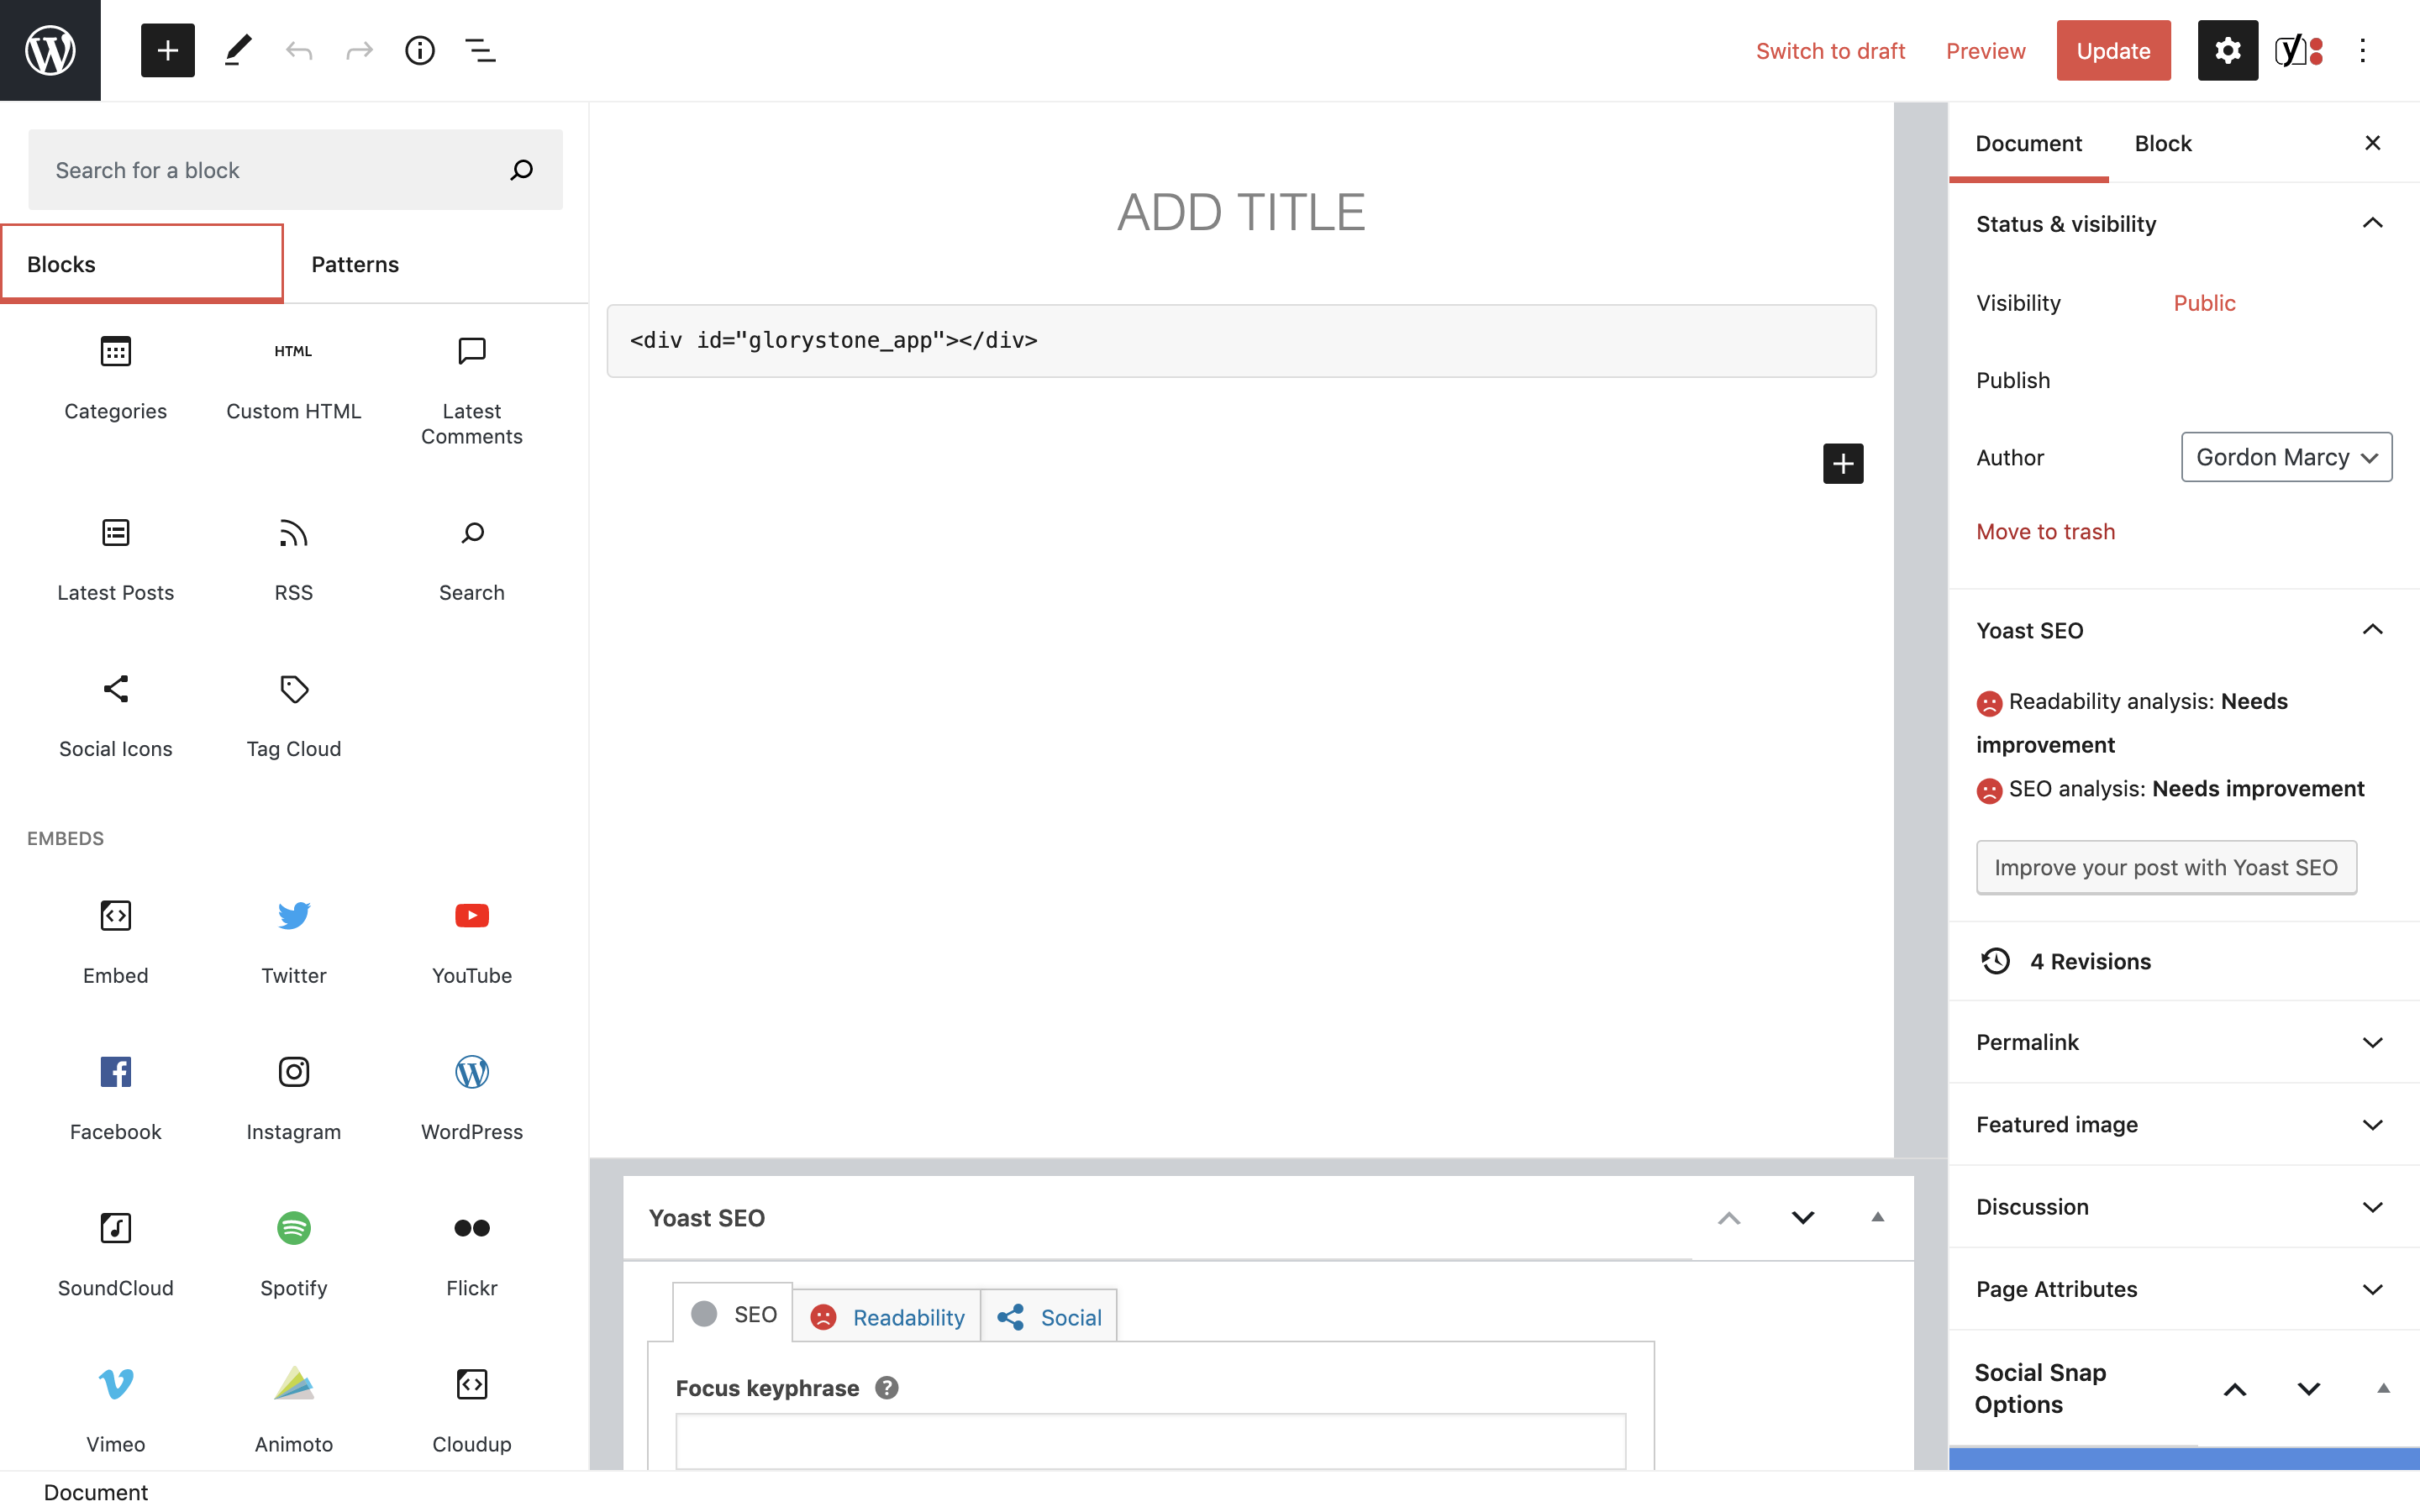
For your primary player, we recommend adding a “new page” to your website, placing the script next to, or very near the header with nothing in between, and not using a “title” on the page. This results in a more “native” look and feel for your app, similar to players from Apple Podcasts, Stitcher, etc.
How To Create a Full Width Page in WordPress: We recommend creating a full width page for mobile, so you can stretch the player content across the screen on mobile devices. In THIS ARTICLE, we will show you how to easily create a full width page in WordPress and even create fully custom page layouts without any code.
The System fetches an RSS image (square) that appears for the program image in the media player and/or episodes in the media player.
There are two image fields on the Program page for manual upload of images.
“Banner image.” Will always be the “Featured Image” in the media player for manual upload files or for RSS programs.
“Tile Image”. If there’s an image in Tile Image, the system will always use that instead of the RSS Image for Program Image and Episode Image. Note: When there is no RSS program image due to some conflict, the manual tile image will correct the issue.
To display correctly on the largest number of devices, in the largest number of browsers, we recommend the following specifications.
For your featured banner images:
- Aspect ratio 16:9
- Size less than 200KB
- Image formats such as JPG, PNG
For your tile images:
- Resolution 300w x 300h
- Size less than 200KB
- Image formats such as JPG, PNG
Here are the various “player sizes” along with visible “banner size.”
Player Size 800px
– Visible banner size: 800px by 400px
– Ideal image size: 800px by 450px with 25px “padding” on the top and bottom
Player Size 700px
– Visible banner size: 685px by 385px
– Ideal image size: Anything with our preferred ratio (16:9)
Player Size 640px
– Visible banner size: 624px by 351px
– Ideal image size: Anything with our preferred ratio (16:9)
Player Size 500px
– Visible banner size: 482px by 210px
– Ideal image size: 482px by 271px with 30px “padding” on the top and bottom
Player Size 400px
– Visible banner size: 384px by 210px
– Ideal image size: Anything with our preferred ratio (16:9)
A few good rules of thumb:
– Making the image 800px by 450px is a good place to start.
– If the image is smaller than 800px wide, keep the 16:9 width:height ratio
– Avoid adding any critical elements (text/logos/etc) within 30px of the top or bottom edge